Getting started
Install the module and its peer dependency:
bash
npm install @bugfreedback/bugfreedback @nuxt/uiRegister it in nuxt.config.ts:
ts
export default defineNuxtConfig({
  modules: ['@nuxt/ui', '@bugfreedback/bugfreedback'],
  bugfreedback: {
    enabled: true,
    primaryColor: '#3b82f6',
    primaryTextColor: '#ffffff',
    modalBgColor: '#0f172a',
    modalTextColor: '#ffffff',
    buttonLayout: 'vertical',
    position: { edge: 'right', offsetX: 0, offsetY: 0 },
    auth: 'optional',
    storage: {
      provider: 'gcs',
      bucket: process.env.BUGFREEDBACK_GCS_BUCKET || '',
    },
    export: {
      provider: 'github',
      token: process.env.BUGFREEDBACK_GITHUB_TOKEN || '',
      owner: 'your-org',
      repo: 'your-repo',
    },
  },
})
Mount the host component once in your default layout:
vue
<template>
  <div>
    <slot />
    <BugfreedbackHost />
  </div>
</template>
Try it locally
Evaluate the widget in the included playground before adding it to your app:
bash
git clone https://github.com/bugfreedback/bugfreedback.git
cd bugfreedback
npm install
npm run dev
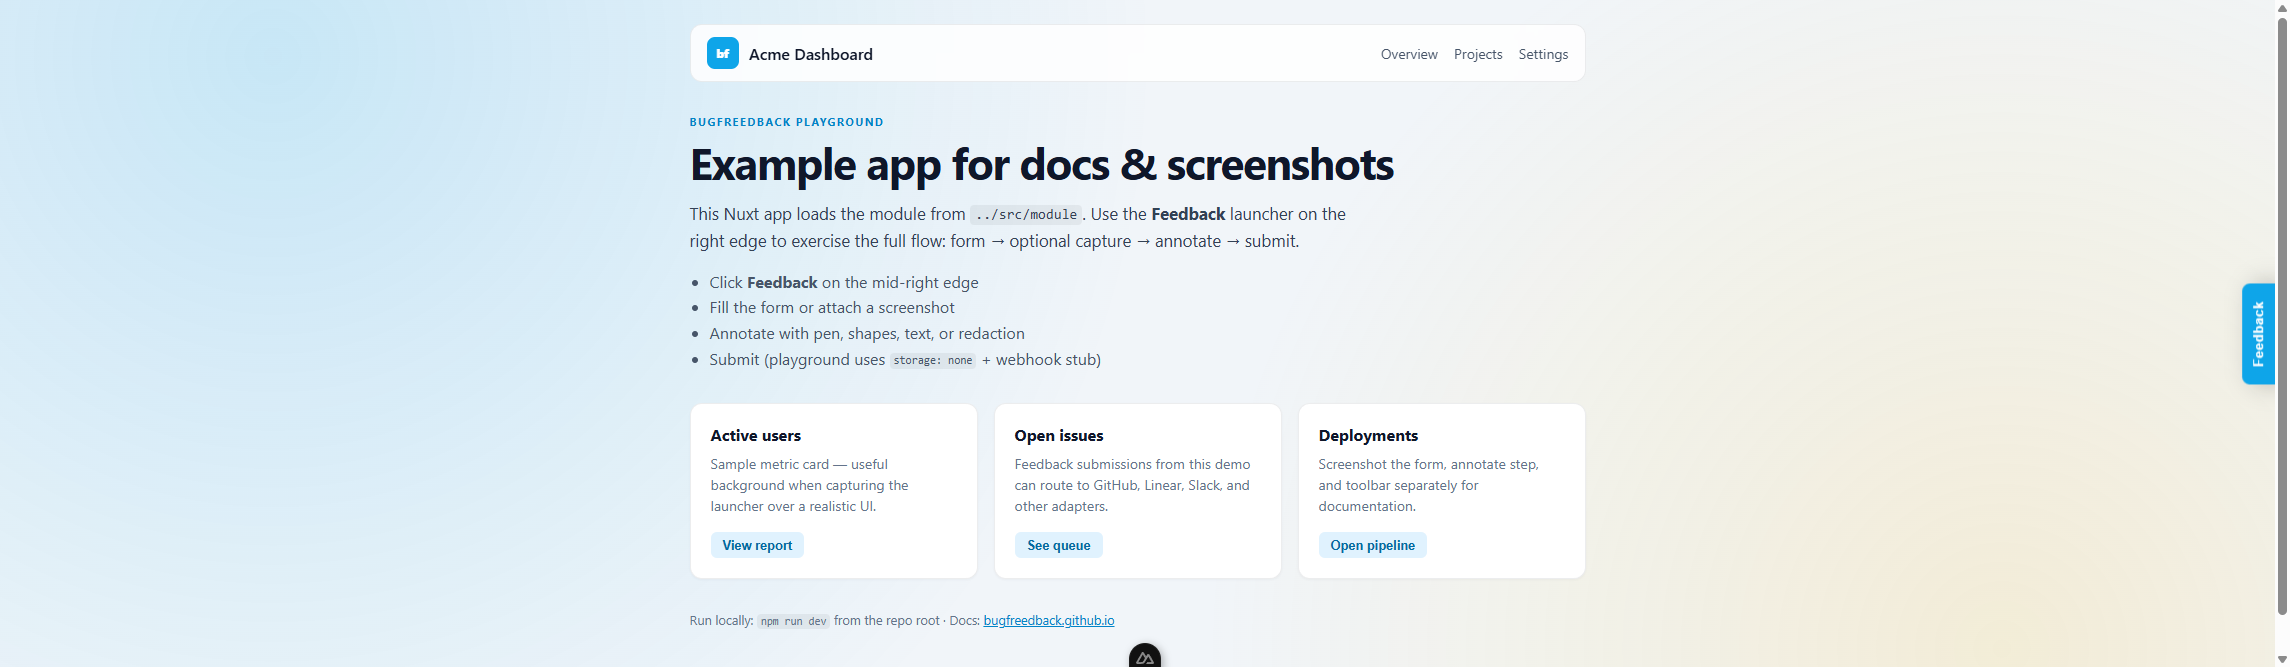
Open http://localhost:3000 and click Feedback on the right edge. See Local demo for default config and testing tips.
Choose an export provider
Each destination has a dedicated guide with credentials, env vars, and full config examples:
| Provider | Guide |
|---|---|
| GitHub Issues | GitHub export |
| Linear | Linear export |
| Slack | Slack export |
| Custom HTTP | Webhook export |
| All providers | Adapters overview |
Auth (optional)
When auth: 'required', provide a token accessor from a Nuxt plugin:
ts
export default defineNuxtPlugin(() => {
  const auth = useAuth() // your app's auth composable
  provideBugfreedbackAuth({
    getToken: () => auth.getToken(),
    getUser: () => auth.user.value,
  })
})
On the server, you may also set event.context.bugfreedbackReporter from your own middleware.
Widget flow
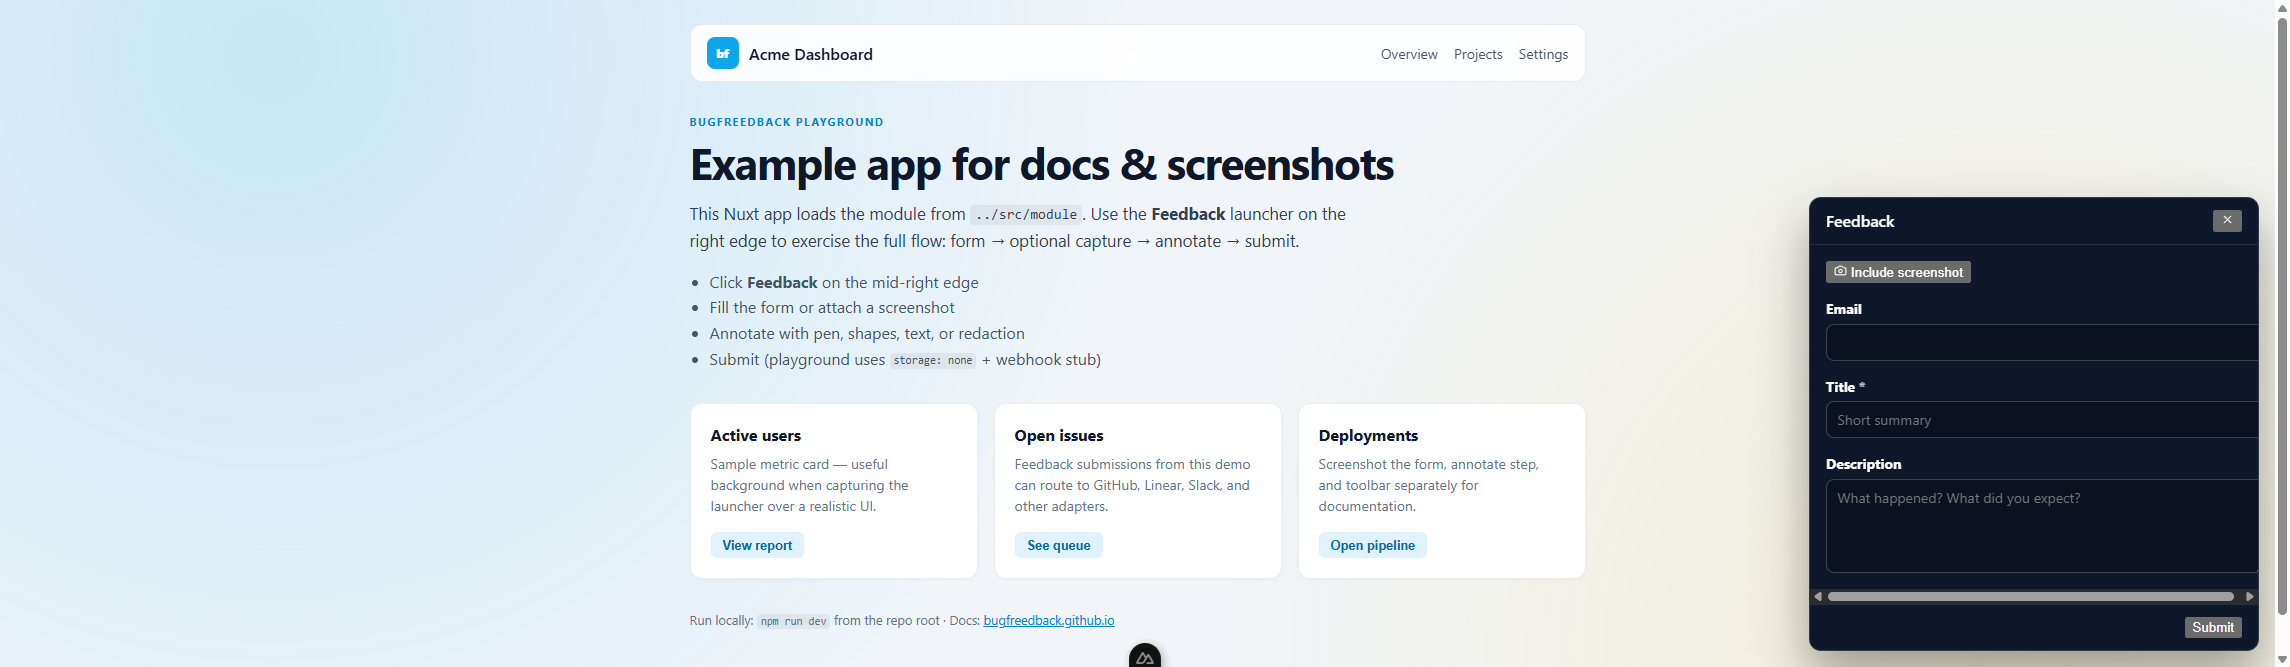
- Form — title, description, optional screenshot
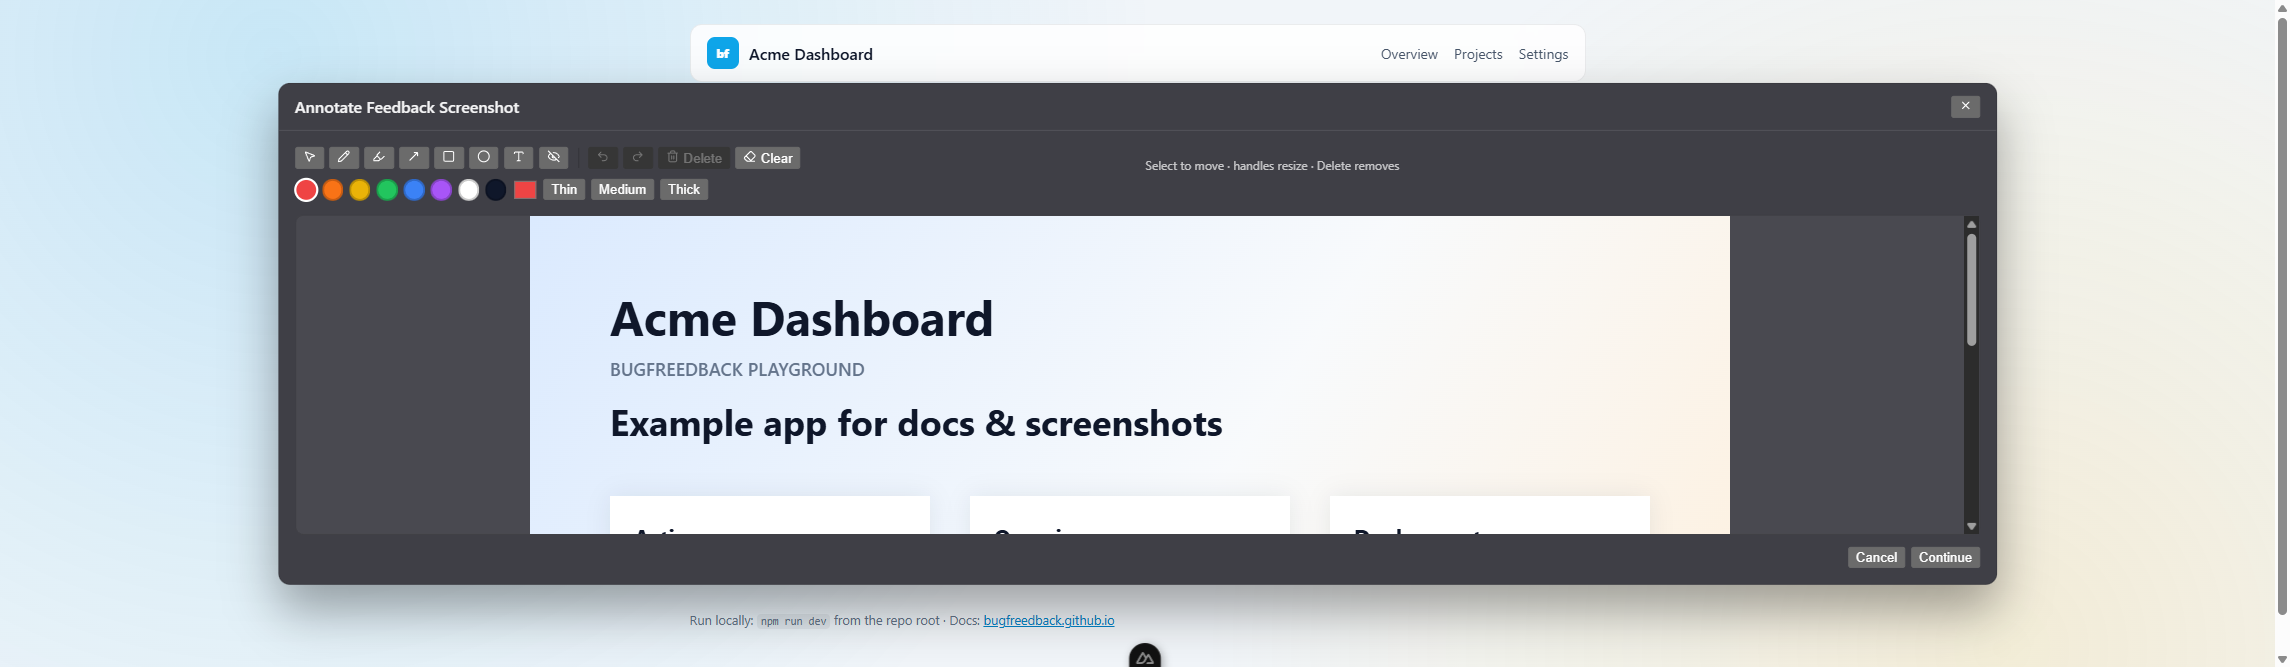
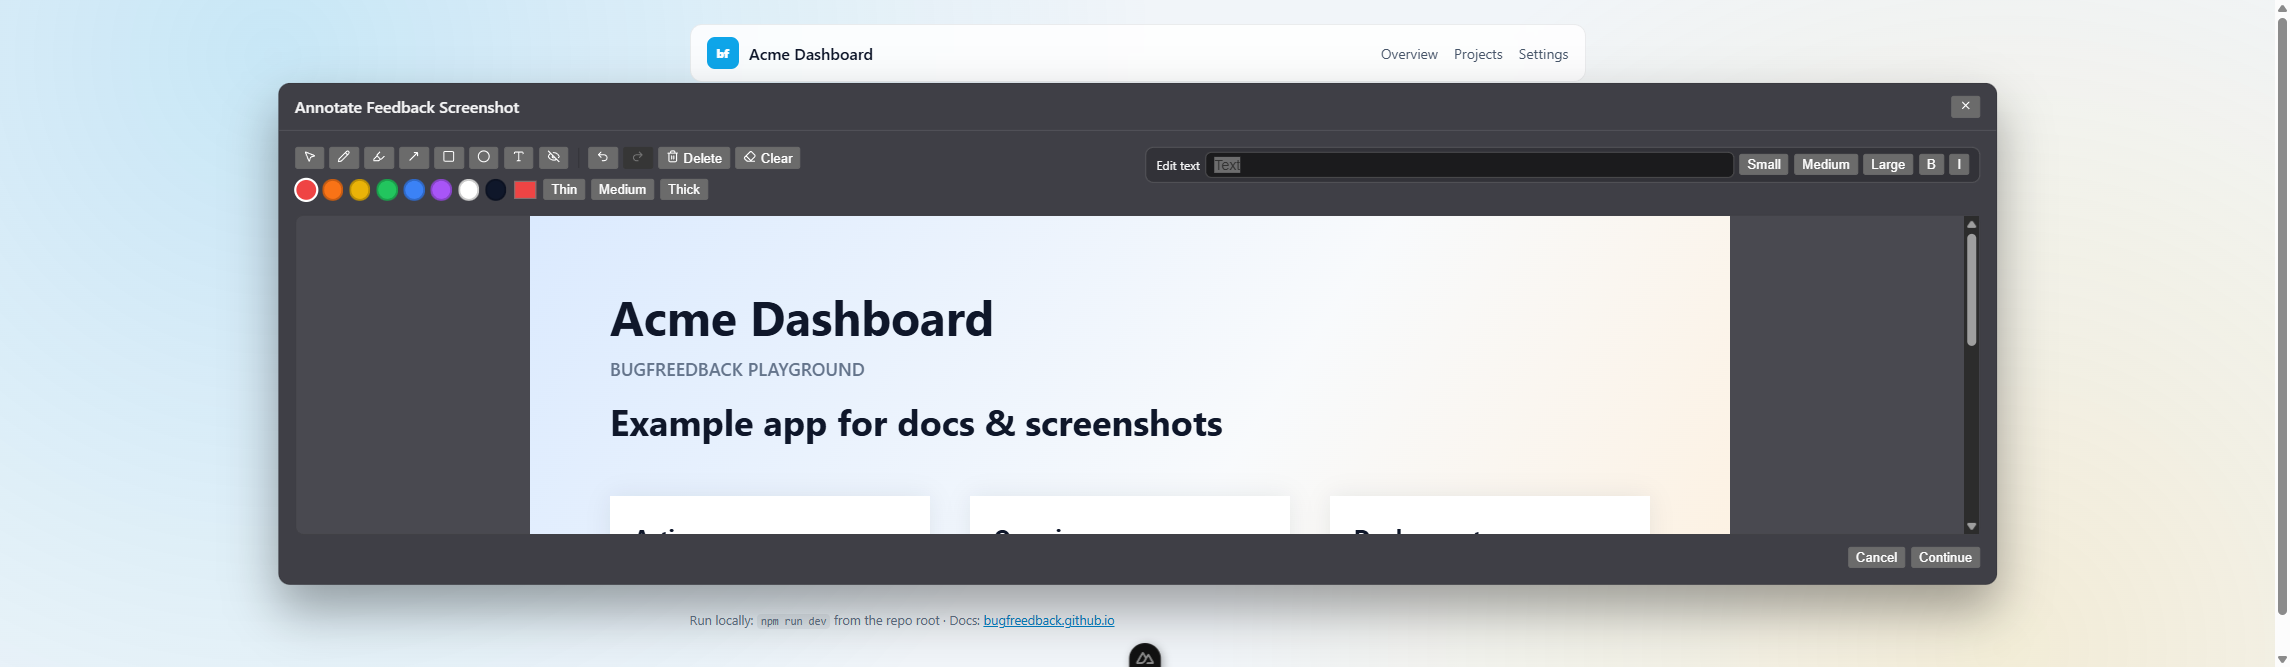
- Annotate — pen, shapes, text, redact (when screenshot attached)
- Submit — uploads screenshot (if configured) and calls export adapter
See Configuration for colors, layout, and auth modes.